
 So, what's up with levels? Even if you are a novice to editing photos, you have probably heard of this. But do you actually fiddle with the "levels" on most of your photos? Probably not. But if you did, you'd be very pleased with the results. It doesn't require any fancy actions (although those are super cool and I'll try to hit on those sometime in the future) and it is simple enough for anyone who understands layers in PSE or Photoshop to use, and use regularly.
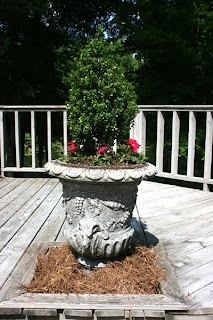
So, here is my photo. No comments on the composition or subject. I had just planted this on my deck and was mighty proud :). P.S. it is still alive and thriving. Yay, me!
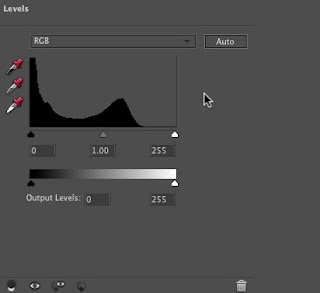
 To adjust the levels you can use a new adjustment layer (the little circle next to the "Create New Layer" square in PSE) and choose Levels from the pop up choices. OR more simply you can click on Enhance -> Adjust Lighting -> Levels. Again, this is in PSE 9 on a Mac but I'm sure it is similar in other versions of PSE.
In Photoshop, I believe it is Images -> Adjustments -> Levels. Unfortunately, this is from internet research and not experience *insert whimper here*.
Regardless of how you get there, here's the screen you will see..

And Voila... my image looks better.
Try it sometime! You will be happier with your scrapbook pages if you are happy with your photos.

1 comment:
great tips!! thanks for sharing :)
Post a Comment